Digital privacy has become an important factor in this age, and social media platforms are the worst enemies of your data. If you are worried about your privacy, you should delete your every social media account right now and never think about them again.
Such a measure serves privacy, but social media isn’t optional in our day and age. There has to be a way to retain your ability to be on social media and have an acceptable measure of privacy and safety, especially on Facebook, the most important social media platform.
And you can make your Facebook account more private if you manage your security settings correctly. This guide will show you how to do that.
A quick guide to making your Facebook profile private
- Don’t use personal pictures for your profile. Use generic photos instead.
- Make sure that your username and your name are not obviously yours.
- All your posts should be “Friends only.”
- Hide all your personal information from your profile.
- Hide your Facebook page from search engines.
- Allow your friends only to message you.
- Hide your friends’ list.
Maximizing your Facebook privacy settings
First step
You shouldn’t need help finding your account and logging in as a Facebook user. So go ahead and log in.
Second step
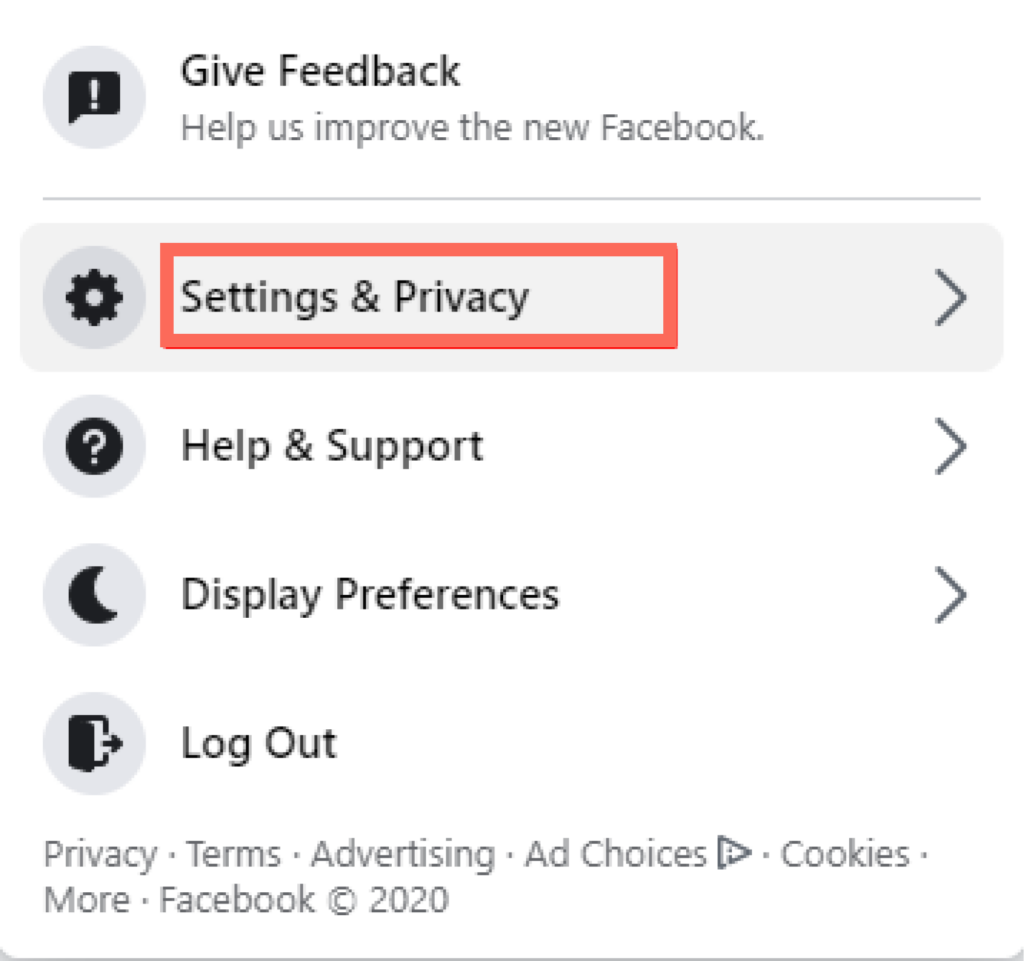
The top right corner of your feed will show an arrow pointing down. A drop-down menu will show as you click it and lead you to group options, ad information, your log, newsfeed preferences, settings, and log out. Select “Settings.”
Third step
So now you will find yourself on the general settings web page. The menu on the left includes an option named “Privacy.” Click on it. You will enter a new page with information about your name, username, contact information, and other information.
Fourth step
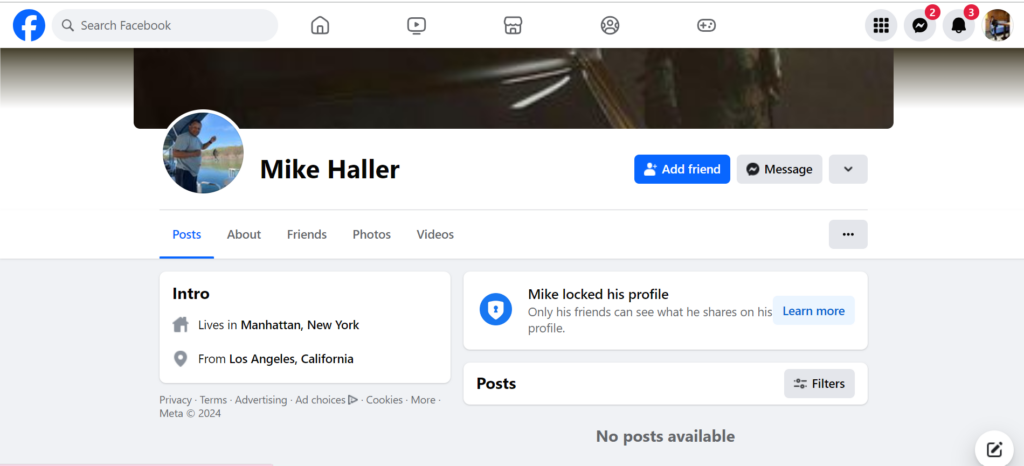
Scroll the webpage down until you find the “Your Activity” section. In this section, you can choose who can access your profile. For example, you can choose to be completely private, “only me,” or limit it to your friends and select what you prefer.
Fifth step: Your other privacy settings
You’re still in the privacy tab. Here, you can decide who can send you friend requests and search you on the platform by email address or phone number if your profile can be tagged in search engines and several other options.
So, at this point, you will go through each setting carefully and choose to fine-tune your account’s privacy to your liking.
You can enhance your privacy even more by reviewing the “Timeline and tagging” tab on the left column. Who can post on your timeline? Who can share your posts in their profiles? Who can access your tagged posts? These are decisions you can make within this tab and even more. Review every single option carefully again.
Also read: Tips for better Facebook privacy today
Making friends list private on Facebook
First step
Go to the Privacy tab. You already know where to find the privacy tab. See the steps first to third in the previous section if you don’t. Once you’re there, complete the following steps:
- Click on the arrow in the top right corner while you are on your newsfeed.
- Select “settings.” It will be the fifth option in the drop-down.
- Find the “Privacy” tab on the left column.
Second step
Find the “how people find you and contact you” option on your privacy page. Then, click on the “Edit” button. You will find the “Who can see your friends list?” option, which is public by default.
Third step
Make your choice. You can make your friends list accessible to you alone if you pick the “only me” option. Or you can allow your friends (but your friends only) to see it. Take your pick from the menu.
There is also the option to preclude specific users from seeing your friend list, which you can use if you wish.
Fourth step
Go to your profile page.
Fifth step
Underneath your cover photo, there’s your Friends tab. Click on it.
Sixth step
Pick the pen box in the right corner. After selecting the pen button, choose the “Edit Privacy” button that will show in the drop-down.
Seventh step
Use the popup menu to edit your preferences. Here, you will have the same options to manage your Friends list privacy.
Making your Facebook albums private
First step
Navigate to the album you want to edit. Beneath your photo header, select the “albums” tab. Then click on the album you want to edit.
Second step
Click on the three dots. Three dots will be in the lower right corner of your interest album. Click here.
Third step
Decide on the audience you want to authorize for this album. As in the previous cases, choosing the “only me” option will render this album completely private. But you also have the options “Friends” or “Friends except…” if you want some specific individuals out of the album-allowed audience. So take your pick and save it before you move in.
Hiding your birthday on Facebook
First step
Select your Facebook profile and click “edit profile.” The “edit profile” option allows you to edit specific information that your profile can display.
Second step
Scroll down to find the “about info” section. A popup menu will show at your screen’s center. Scroll down until you find the “edit your about info” tab, the popup’s last section.
Third step
Find the “contact and basic info” tab. Your screen will show the “about” section. Then, on the left, you will find the “Contact and Basic info” tab. Beneath the “Basic information” section, press the “Edit” button that shows next to your birthday information.
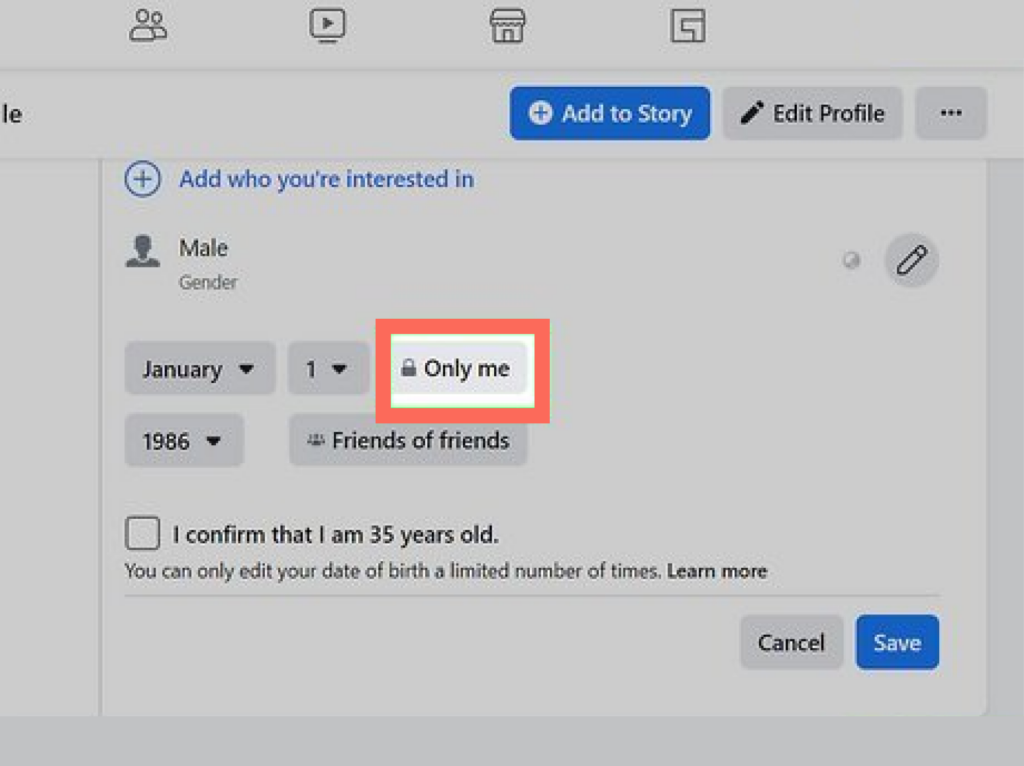
Fourth step
Select your privacy. Now you can use the drop-down buttons on the right-hand side to decide who can see your birthday. Then, edit it as you wish.
Make your profile private on Facebook mobile
Making your profile private on Facebook’s mobile application is straightforward. The steps are similar on both Android and iPhone devices. There are two methods:
Method I
- Open your Facebook application on your mobile device.
- At the upper-right corner of your screen, tap on the Hamburger. It is located at the bottom-right corner of the iPhone.
- Scroll to the bottom and select ‘Settings and Privacy.’
- Open ‘Settings.’
- Update the options under the ‘Audience and Visibility’ section by clicking each option and then clicking the edit button at the top right corner.
- For instance, if you want to create private posts, tap the Posts, then change the settings.
- Finish changing the settings of all the remaining options.
Method II
- Go to Settings and open ‘Privacy Checkup.’
- At the upper left corner, click on the box with the statement, ‘Who can view what you share.’
- Tap ‘Continue’.
- Change the privacy settings by clicking on the dropdown menu on the right side and tap ‘Next’ at the bottom.
- Select the users who can view your posts on the dropdown menu to the right. Also, choose ‘Limit’ to alter the privacy settings of previous posts.
- Finally, you can decide to obstruct other users.
Make your posts private
Go to your ‘Your Activity section’ under ‘Privacy’ and change who can see the pages you follow and all your posts, including those you are tagged in. Then follow these instructions.
- Click Who can see the people, pages, and lists you follow and change permissions.
- Open Who can view your future posts? Then, modify the privacy settings.
- You can also edit the privacy settings on the changes that you have made by clicking ‘Limit the audience for posts you’ve shared with friends or public’ or ‘Review your posts and things you are tagged in.’
Hide your profile to prevent people from finding
Follow the ‘How People Contact and Find You’ instructions.
- You cannot turn off friend requests permanently. However, you can limit the number of people who can send you friend requests by clicking ‘Who can send you friend requests.’ The best option is to make them mutual friends.
- You can also mask your friends’ list by clicking ‘Who can see your friends list.’ Then, change the settings to prevent users from knowing your Facebook friends.
- Prevent users from looking you up on Facebook by clicking on ‘Who can search you using the phone number provided’ and ‘Who can look you up using the Email address provided.’
- Hide your Profile from Google and other search engines by clicking ‘Do you want search engines outside Facebook to link your profile.’ After modifying these settings, users cannot find your account using a search engine.
Stop people from messaging you.
You can control the number of people who can send you Facebook messages by going into the ‘How to get message requests’ section and modifying your settings. Also, under this section, you can filter the messages in their folder.
- Go to ‘Potential Connections’ and classify where various message categories can be stored. You can select message requests to go to a different folder and regular chats to occupy your inbox. You can also click ‘Do not receive requests’ to delete requests.
- Under ‘Other People,’ control messages from users you don’t follow and Instagram users. Their messages can’t go to your regular inbox, so you must select ‘Don’t receive requests’ or ‘Message requests.’
Make certain Facebook posts private
Facebook settings enable you to regulate your posts by filtering some posts as private and others as public. This way, you can make one public post and another private post. Follow these instructions:
- Click on the dropdown button below your name when creating a Facebook post.
- Select how public or private the post should be.
Only the viewers you select will be able to access your post.
Set up privacy Facebook check reminders
Facebook has a Privacy Checkup feature where you can set periodic reminders to notify you to modify your privacy settings. Use the following steps to set it up.
- Login to your account on the Facebook website.
- Tap on your profile picture and select ‘Settings and Privacy.’
- Click ‘Privacy Checkup’ in the submenu.
- Tap on the hamburger menu on the next screen and choose ‘Set up Reminders.’
- A pop-up window will appear where you choose when you want Facebook to alert you when to perform a privacy check. Click ‘Save.’
Make your profile invisible to search engines
- Login to your Facebook account on your browser and click the arrow in the upper-right corner.
- Go to ‘Settings & Privacy’ in the dropdown menu and select ‘Settings.’
- Then click ‘Privacy.’
- Select the ‘Edit’ option next to the question ‘Do you want search engines outside Facebook to connect to your profile?’ and change the settings.
Facebook’s basic privacy settings
Let us do a security roundup on your account to ensure it’s safe from intruders.
Choosing a strong password
Unless you first don’t need a VPN to unblock Facebook (you might need one in countries like China), a good password is your first defense in protecting your Facebook account. So, having a good password is where everything begins. You can do this in several ways.
First, if you use a password manager that includes a password generator can give you a robust one to use on your FB account. If you don’t, you can still develop a high-quality password following the best practices to create new passwords (8 characters at least, a random sequence of alphanumeric numbers that includes at least one number, one uppercase letter, and a symbol).
Once you have a new password, you have to use it. That means changing your current Facebook password by following these steps:
- Log in to your Facebook account.
- Go to the security settings. The arrow on the top-right corner will take you there by selecting “settings & privacy,” and then “settings.”
- Change the password. You’ll find the “security and login” option on the left. Click here and scroll your screen down until you find the “login” section, which includes the “change password” option. Click it, and change your password.
How to enable two-factor authentication
Optimal digital safety takes more than passwords. Even with the most robust password, having a single protection element can always become a vulnerability. That’s why two-factor authentication (2FA) is around. This type of access makes it impossible for a third party to access your account even if your password is compromised.
So it’s always the best idea to have your Facebook account protected with 2FA:
- Log in to your Facebook account.
- Enter the security settings (as in the previous section).
- Enter the 2FA menu. You can find it in the “security and login” section. Click “edit,” and you’ll see the 2FA options available.
- Enable 2FA. You can have an SMS as the second security factor or use an additional 2FA app or device to log in to Facebook in the future. You can take your pick and follow through with the configuration. The system will prompt you.
Make your future Facebook content private
- Login to your Facebook account on the Facebook website.
- Click on the arrow at the top right corner of the screen
- Click or tap on ‘Settings and Privacy.’
- Click ‘Settings,’ then go to ‘Privacy.’
- Scroll down to ‘Your Activity’ on the right pane and click the ‘Edit’ button next to ‘Who can view your future posts.’
- Click on ‘Public’ and alter it to ‘Friends.’
You can also click on the hamburger menu in the upper right corner to change the settings of your posts.
How to use Facebook’s inline audience selector
Facebook allows you to set different sharing options for all your posts. Just open the status screen and change the privacy settings at the bottom of the screen. In the status box, select privacy settings and choose the viewers for each post. The options available include Specific Friends, Friends Except, Only Me, Friends, and Public. Your post will only be visible to the audience you select
FAQs
Here are our suggestions:
1. Set your posts to “Friends only.”
2. Only your friends should tag you in posts. Have them ask for your approval before they show up in your feed.
3. Limit who can contact you on Facebook.
4. Set your Friend list so that only you can see it.
5. Find your “off-facebook” activity history and clear it.
6. Stop Facebook from tracking your “off-facebook” activity.
7. Do not allow 3rd party apps and websites in your timeline.
8. Hide your Facebook page from search engines.
Yes, you can. Go to your Privacy settings which you will find2 under your “Settings and privacy” Facebook menu. Set your post visibility to “Friends” or “Specific friends.” You can also specify an audience for individual posts. Click on the three dots in the right-hand corner and pick “Edit audience.” Then take your pick of “me only,” “Friends,” or “specific friends.”